How to Recover Lost Data: Step-by-Step for NAS, Cloud & Drives
We’ve all been there – whether it’s a deleted family video, a corrupted work file, or a laptop that decides to retire without notice. Losing data feels like losing a piece of your life. But here’s the good news: if you’ve backed up your files, there’s hope.

By the end, you’ll know:
- How to recover files from external drives, cloud storage, and even grandma’s old DVD backups.
- Why your NAS (that fancy internet-connected hard drive) might be your data’s superhero.
- What to do if nothing works (yes, there’s still a lifeline).
General Preparation for Data Recovery
You’ve just realized something important is missing, and now you’re wondering why you didn’t back it up twice. Before you start searching for recovery solutions, let’s focus on preparation. It’s similar to packing for a camping trip; you wouldn’t head into the woods without essential supplies. The same logic applies here. A little preparation can make all the difference in turning potential chaos into a manageable situation.
Step 1: Don’t Panic
- Freeze! If you lost a file on your laptop or phone, stop using the device immediately. Every new selfie or email draft could overwrite the data you’re trying to save. It’s like trying to find your keys in a garbage truck – don’t add more trash.
Step 2: Where Was That File Last Seen?
Retrace your digital steps:
- Did you save it to your laptop’s Downloads folder? Your phone’s gallery? That mysterious “New Folder (3)” on your desktop?
- Check recent backups: Open your cloud storage (Google Drive, iCloud) or NAS app. Sometimes the file’s already safe and sound, hiding in plain sight.
Pro Tip: If you used a backup tool like Time Machine or UGREEN’s NAS, check the last backup date. If it was yesterday, you’re golden. If it was 2019… well, we’ll work with what we’ve got.

Step 3: Gather Your Recovery Toolkit
You don’t need a hacker’s basement setup. Just these basics: External hard drive, cloud storage, or NAS. If you’re using a NAS, keep its admin panel open in your browser. Its “snapshot” feature lets you rewind files like a Netflix show – no tech degree required.
Step 4: Avoid the “Oops” Moment
- Don’t save new files to the device you’re recovering from.
- Write down passwords for encrypted backups/USBs.
- Charge your devices.
Recovery Steps by Backup Method
External Hard Drives
- Connect the drive: Plug it into your device.
- Search for the File: Use File Explorer or Finder to locate the file by name or file type.
-
Restore it: Drag the file back to your desktop. If not found:
- Use recovery software like Recuva to search deleted files.
- UGREEN Tip: Avoid saving new files to the affected drive during recovery.
Cloud Storage
- Log into your cloud storage account.
- Check Trash or Recycle Bin (files typically remain there for about 30 days).
- Restore files by selecting them and clicking “Restore” or “Put Back.”
Internal Hard Drive Backups
- Windows: Search for “Backup settings,” navigate to Backup and Restore, and select the correct backup.
- macOS: Open Time Machine, select the relevant date, then click “Restore.”
UGREEN Tip: Combine Time Machine with a NAS for automatic, worry-free backups.
DVDs/Tapes
Yes, DVDs and tapes can still hold usable data.
- Insert the media and gently clean if needed.
- Open File Explorer/Finder to locate files.
- Copy files to your computer. For stubborn errors, use IsoBuster or seek professional assistance.
NAS
- Log into your NAS management interface.
- Locate the “Snapshot” or “Backup” section.
- Select the file and restore the desired version.
UGREEN Tip: In case of ransomware, NAS’s isolated backups offer an additional safety layer. For more on how to protect your NAS from ransomware attacks and improve its security against threats, check out this detailed guide on how to protect your NAS from ransomware, which covers everything from multi-layered defense strategies to advanced backup protocols.
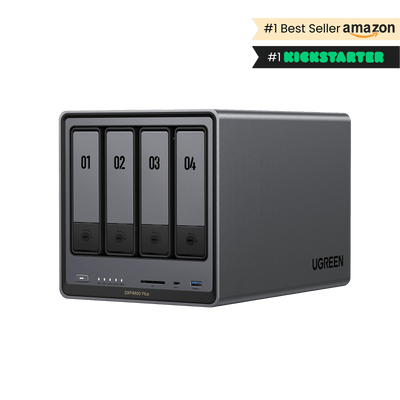
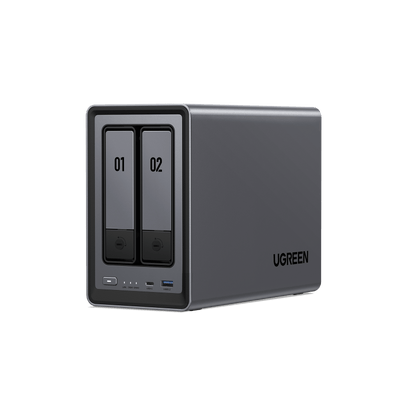
{{UGPRODUCT}}
Encrypted USB Drives
- Plug in and unlock your encrypted USB.
- Locate and transfer files to your computer.
Social Backup
Peer-to-peer backups (e.g., Resilio Sync) offer decentralized protection but require technical knowledge. Use them to complement traditional backups.
What to Do When Recovery Fails
If recovery attempts fail, immediately power down the affected device and consider consulting professional data recovery specialists. Avoid attempting DIY repairs on physically damaged or corrupted hardware.
Regularly audit your backup methods against the 3-2-1 rule (three copies, two types of media, one offsite), and fill gaps with automated systems such as an encrypted NAS combined with cloud storage. Digitizing physical archives and adopting blockchain-verified backups can further mitigate future risks.
Finally, avoid using unverified recovery tools. Always opt for reputable ISO-certified recovery services that provide clear success rates and transparent pricing.
Conclusion
NAS offers a smarter, more efficient way to manage your digital life, ensuring your valuable data is not only securely backed up but also well-organized and readily accessible. If you're thinking about using NAS for your home, it's important to understand how to choose the right storage to get the most out of it. Read this detailed guide on selecting NAS storage for your home to make a well-informed decision based on your storage needs and digital lifestyle.


